Sometimes a truly special project calls for a truly special printing technique, and that’s when you’d really appreciate a few pointers from people who know those techniques inside and out. The following tips come to us from Vanessa Kreckel, owner and creative director of design studio Two Paper Dolls and her PaperSpecs webinar, Design With Special Print Techniques, alongside then-creative director Greg Ash. (PRO members, check out that webinar in its entirety here. Not a member? Why not begin your PRO membership today?)
…..
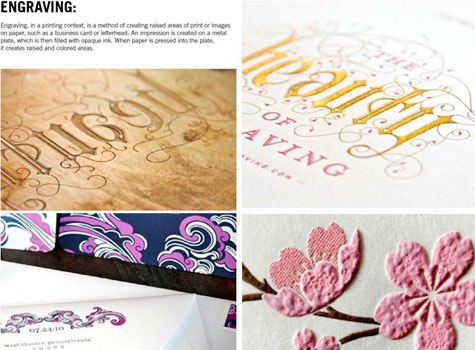
1. Engraving. When we do engraved projects, we love to do them with dark paper and lighter ink because it’s really the only way that you can achieve that look, where you can lay ink on top of paper and have it be so vibrant. You could create the same design and just offset the entire thing, but you’d have no texture and no dimension to the project.
You also want to avoid large areas of ink coverage if possible. If you do use a large area of coverage in engraving, it’s going to screen, so it’s going to end up being very tiny dots.
I would also make sure your file includes color separations and PMS colors; don’t send files in CMYK or RGB. Every color is done as a separate pass, so the printer is going to create a plate based on each color that’s in your artwork. (While many people confuse engraving with embossing, remember that embossing uses pressure and heat, and it’s pressed between a male and a female die until it stretches to the desired form. Embossing uses a recessed die, just like engraving does, but the embossing die remains un-inked.)
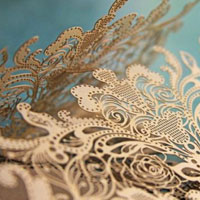
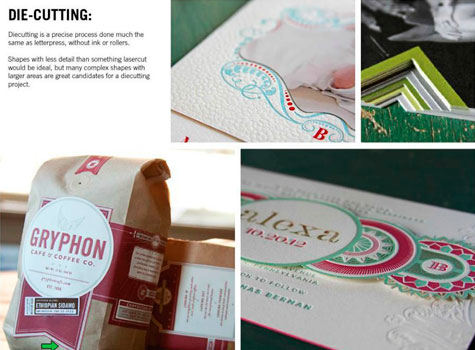
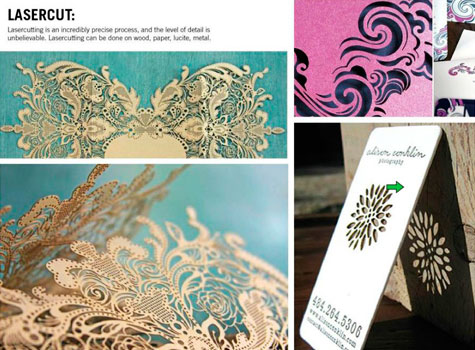
2. Die cutting and laser cutting. Standard die cutting is something that we do in-house and there is a fine line of what you can die cut and what needs to be laser cut, and I think that really is all about the details. So a simple shape that has some curves and some windiness and some points is definitely doable and able to be die cut. For something with tiny details, you need to laser cut. Basically it’s a laser coming down on your paper and tracing out every single detail. And laser cutting can be expensive. The trick in designing for this is really all about positive and negative space, and the way that you can design something so it doesn’t fall apart.
A lot of times when you’re laser cutting on a white stock, you’re going to see the burn marks. It will show up a lot more on a white stock than it will on a colored stock or a gold stock. [One good way to cover this up is to use the mounting technique below.]
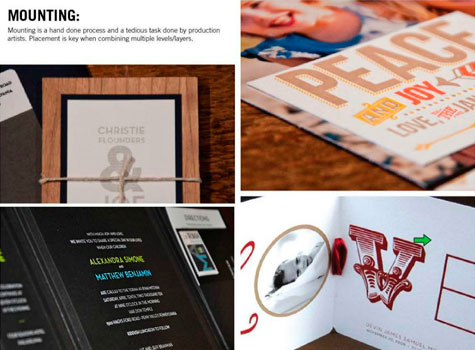
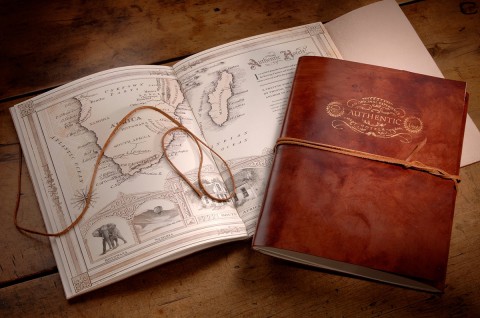
3. Mounting. We take different kinds of paper, different kinds of materials such as wood, fabric, metal, photos—things like that—and just basically mount them. This is all hand-done by production artists, and they create this multilevel effect that just gives a piece dimension.
In regards to what kind of glue you use in mounting, we use ATG tape, which is a pretty standard thing in the production design industry. I think it’s the most flexible. Glue sticks and hot glue just make a mess and will not always hold up. We’ve found over many years that ATG tape — basically that double-sided tape— it’s very strong. It comes in different strengths for different applications. Once you ATG something, it’s not coming off.
…..





I really appreciated your advice to avoid putting too much ink in one area, because then it will lead to spotting on your project! My brother is trying to get into laser engraving, and he has been showing me some of his ideas that he wants to use for projects. I will be sure to suggest to him that he avoids any areas that are to concentrated on his designs!
So happy we could be of help, Ken 🙂